

Has your shower been relentlessly cold lately? If so, the chances that your water heater is the culprit are highly likely. Furthermore, if it’s a gas water heater, an extinguished pilot light is the most probable reason behind no warm running water. So, alas, here you are. Now your water heater’s pilot light needs to be lit. Don’t worry, though! Although relighting a gas water heater can seem intimidating, it’s a relatively simple process that can save you both time and money (you don’t have to hire a service professional). Luckily, with the correct tools and a little bit of knowledge, as a homeowner, you can easily relight your gas water heater and get it back up and running again!
Here’s a step-by-step instructional guide from your trustworthy local plumbers at Five Star Dayton Plumbing:
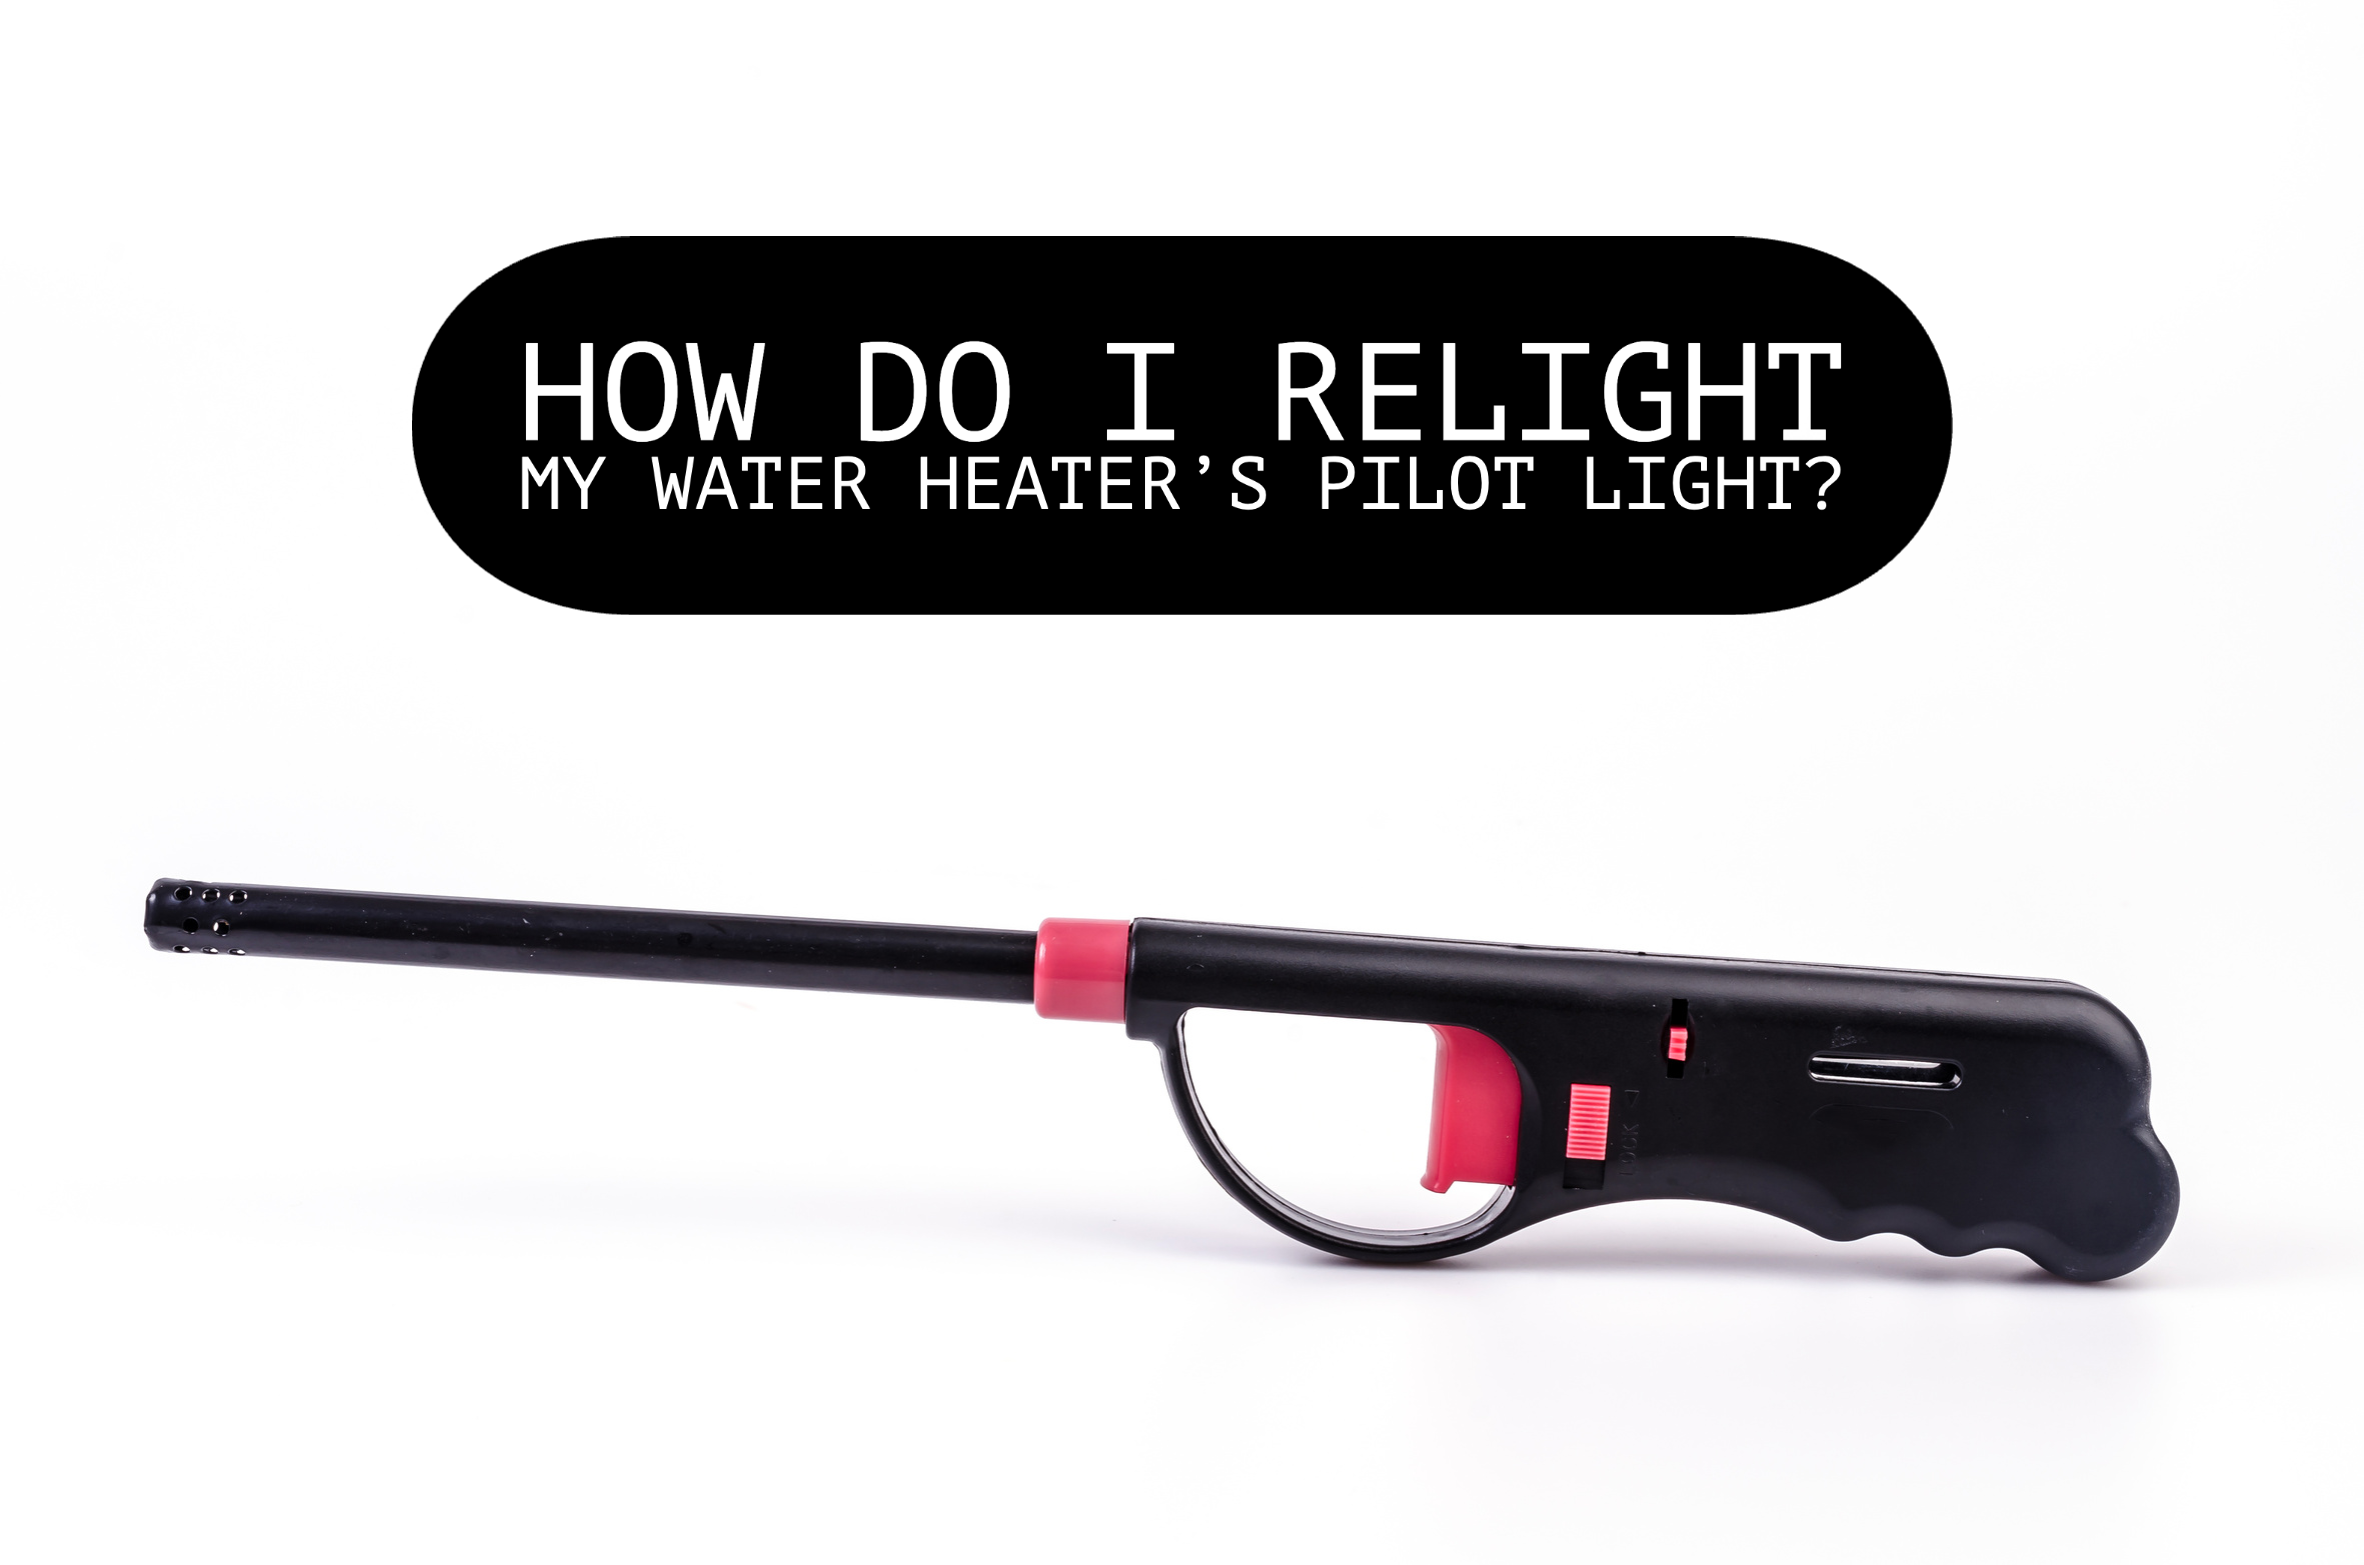
WHAT TOOLS DO YOU NEED TO RELIGHT A WATER HEATER’S PILOT LIGHT?
- Flashlight
- Lighter (long-reaching lighters or matches are suggested)
WHAT ARE THE STEPS YOU NEED TO KNOW TO RELIGHT YOUR WATER HEATER’S PILOT LIGHT?
Step One: First, let’s locate the pilot light area. The pilot light opening is usually located near the bottom of the water heater. Most models have a burner cover, a metal panel-like covering, or an access door. If your model has a burner cover, carefully remove it and place it gently to the side, out of the way.
Step Two: We always stress the importance of acting with precaution. So, before continuing, make sure that you turned off the gas supply first. It’s important to turn off the gas supply to avoid any potential risks involving gas. You can achieve this by locating the gas valve on the gas pipe, which leads to the water heater, then turning it to the “off” position. It’s also wise to note that after you have completed turning the gas off, you should allow for at least five minutes to pass before proceeding to the steps below. This is recommended so that the previously built-up gas has sufficient time to disperse. Otherwise, you risk potentially causing harm to your home, you, and your family.
Step Three: Thirdly, it would be a good idea to clean the vicinity around the pilot light. If your pilot light keeps going out, it could be because the surrounding area of the pilot burner is dirty. If this is the case with your pilot light, it’s safe to use a small brush or toothbrush to clean around the pilot light. Just be careful to do it gently and with care.
Step Four: After the gas has sufficient time to dissipate, it’s now time to light the pilot light.
- Switch the knob on the pilot light assembly to “pilot.” This enables the gas valve to temporarily supply gas so the pilot can be relit.
- Then press and keep holding the “reset” button down while simultaneously utilizing your other hand to ignite the lighter (or match) and bring it carefully toward the pilot light. Be sure to proceed with caution.
- Once you are close enough, the pilot flame should spark and ignite. At this point, you can let go of the “reset” switch.
- Take a minute to observe the flame is remaining aglow. The flame should burn steadily with a blue tint.
Step Five: Once you have verified that the pilot flame is operating correctly once again, please remember to turn the gas supply on again.
Step Six: If your water heater did require you to remove a burner cover, don’t forget to place it back on.
Still having issues with your water heater’s pilot light? Let us tackle this problem for you! We’d be ecstatic to ease the load for you. Call Five Star Dayton Plumbing today at (937) 230-6506, or schedule an appointment online now by clicking here!
